The material and tools you will need for Styrofoam printing
- Pencil
- Ink or paint
- Marker
- Inking plate
- Soft roller
- Piece of Styrofoam
- Thick paper
- Cissors
The steps in the styrofoam printing process
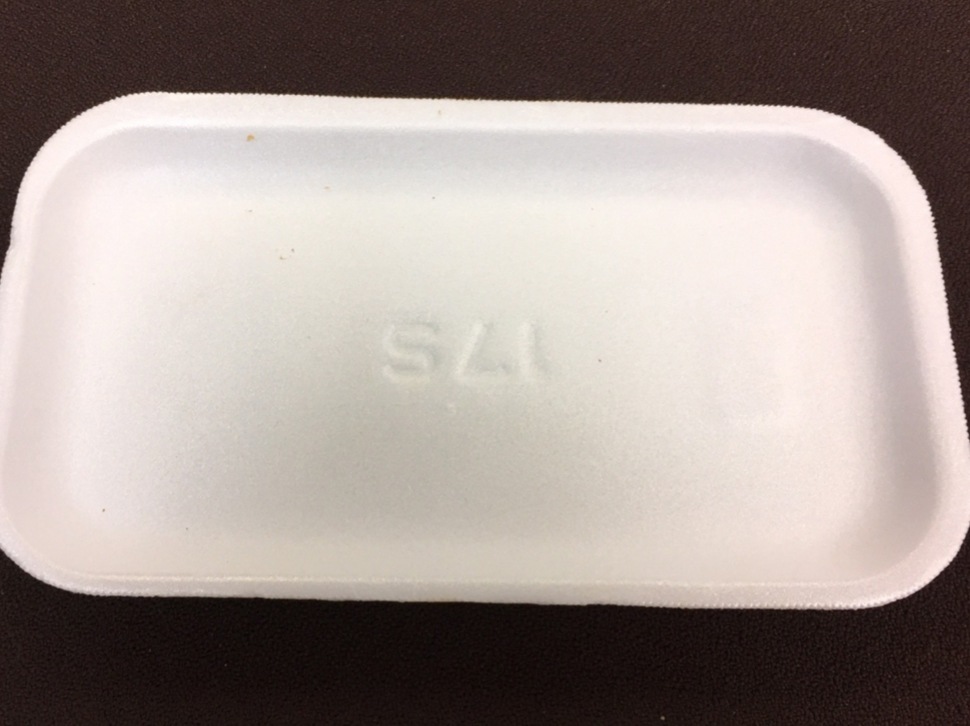
1.Take a piece of Styrofoam (you can reuse Styrofoam from meat packaging. Be sure to clean it well).
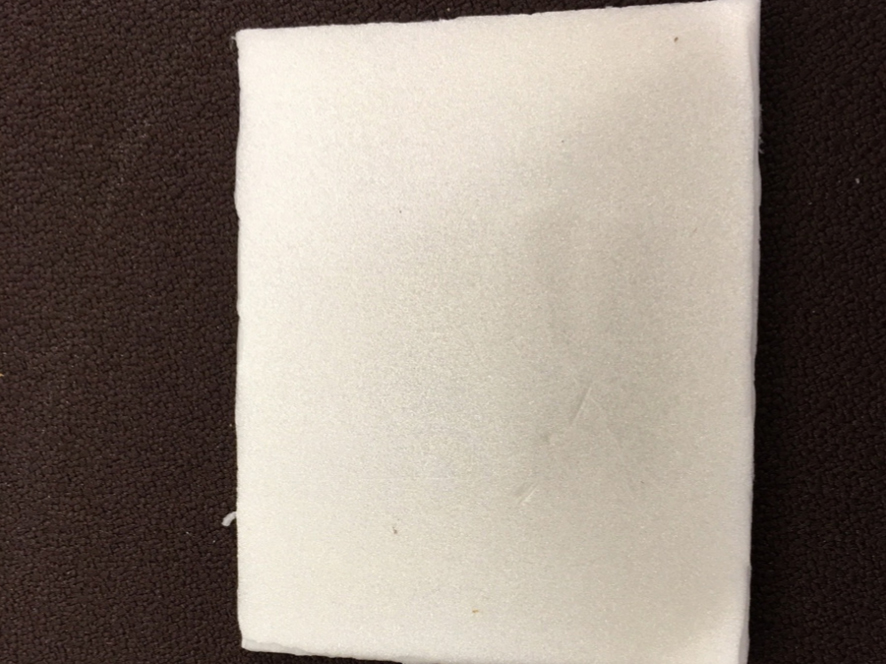
2. Cut the piece of Styrofoam to remove the round edges and obtain a flat surface.
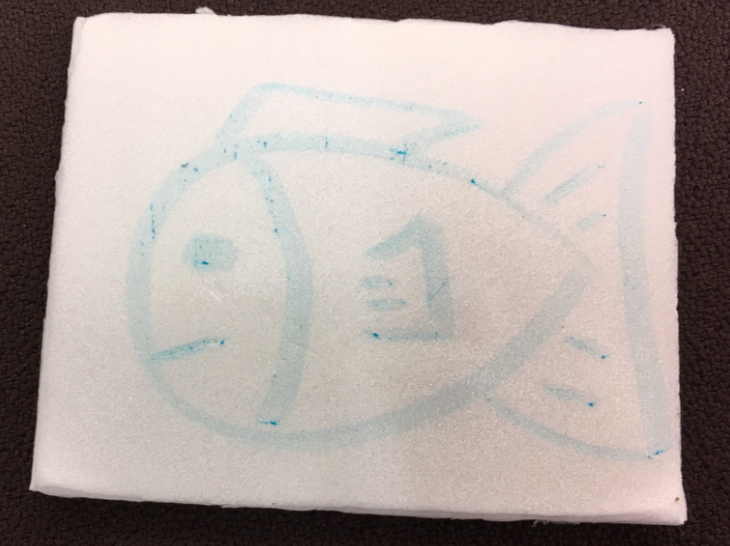
3. Draw the desired picture on the piece of Styrofoam using a marker (do not press hard, you aren’t cutting at this stage).
4. Take the pencil and go over the lines made with the marker. Be sure the lines are deep enough and large enough to see the impression well.
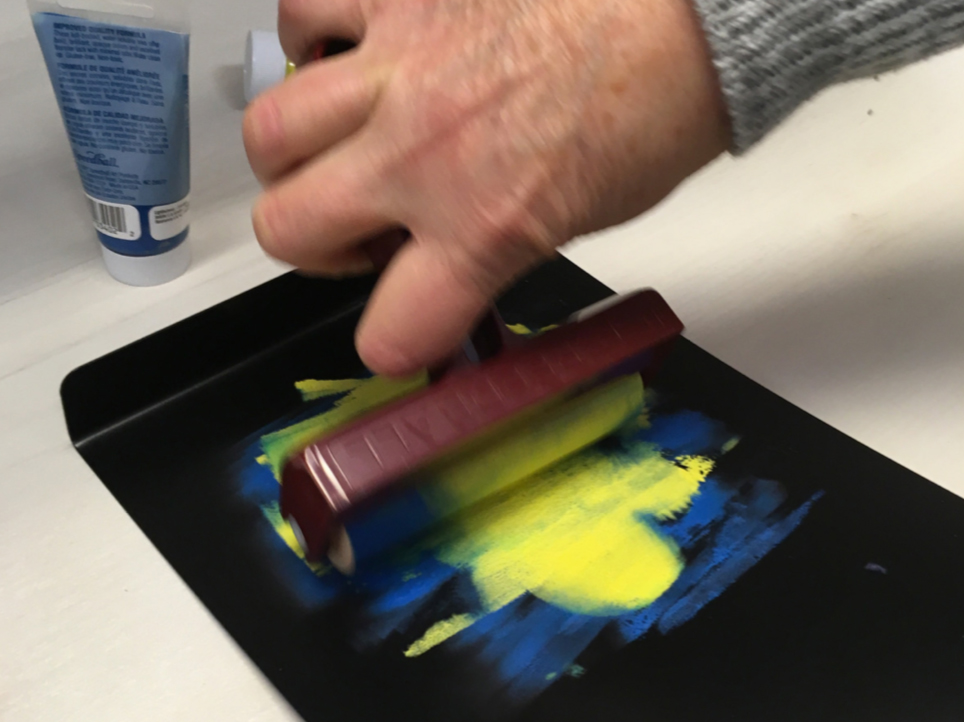
5. Once cutting is completed, use the bench as an inking plate. Put a little ink on the plate and use the soft roller to spread the ink. Cover the entire roller in ink.

6. Roll the ink over the Styrofoam etching using the roller, then place the thick paper on the ink. Take the hard roller and roll it over the paper to transfer the ink on the Styrofoam onto the paper.
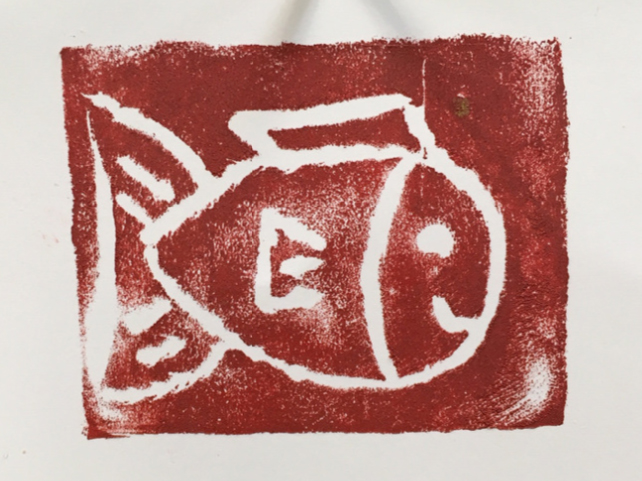
7. Place the student’s art work on a flat surface or hang from a cord to dry.
8. Take the time to clean the tools well using hot water (no need for soap).