The Nutritower is intended for use in the Science and Technology courses for WOTP. However this tool can be used in a variety of applications and should be considered and applied as a STEAM project (Science, Technology, Language, Arts and Mathematics). This project can be utilized throughout multiple years and can progress from a simple introduction to biology to an extensive school wide project under the Career and Community Development program.
Project Applications
- Culinary herb garden
- Exploring healthy eating
- Positive mental health and self care practices
- Create a greens store
- Indoor fruit and vegetable garden
- Nursery for summer time outdoor planting
While we strongly recommend the use of this tool in your classroom it is by no means a mandatory part of the WOTP program. Follow the link below to the PWT science and technology page for more information on the Science and Technology curriculum.
PWT Science and Technology Curriculum Page
Project Progression
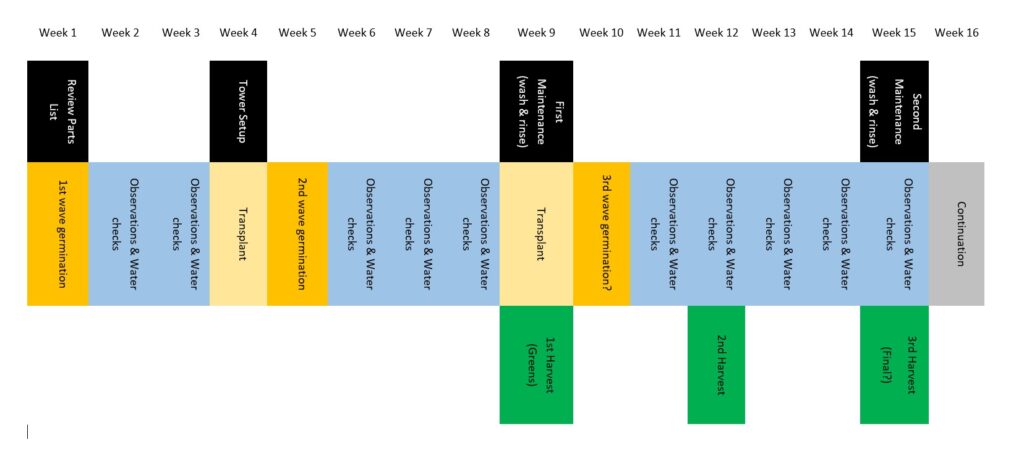
The nutritower project can extend across a term or the entire school year or beyond that if the teacher desires. The following progression starts with the initial set up, continues through to germination and transfer to the tower. A cycle of maintenance, water treatments and observations repeat until the final harvest or continuation into the following term or year.
Remember that the nutritower is a versatile tool and education can take many different forms. It is up to the teacher to decide which application serves their learning environment the best. Some ideas are included below to help percolate ideas.
- Initial Setup
- Germination
- Transplanting
- Regular Operation
- Water and Additives
- Maintenance & Cleaning
- Harvest
Technical Support & Additional Resources
1. Initial Setup of the Nutritower
Each community was sent one Nutritower Complete Education Package in 2021. This includes the following items, please ensure you have access to each component before introducing the project to the students.
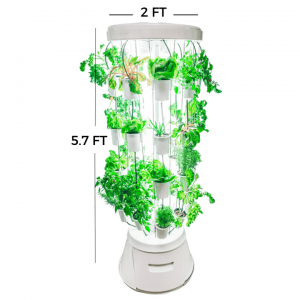
- The V2 Nutritower
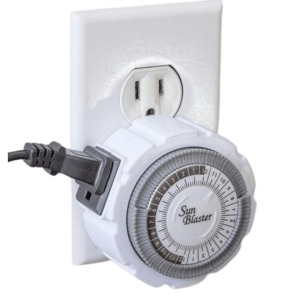
- 2 Analog Timer Switches
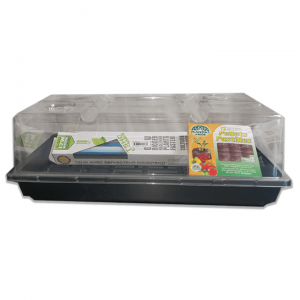
- 1 Advanced Germination Kit with plant growing light
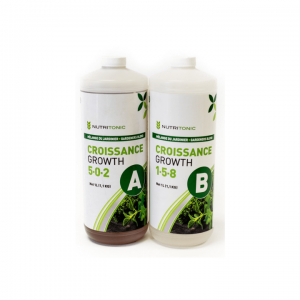
- AB Growth Formula (Plant nutrients)
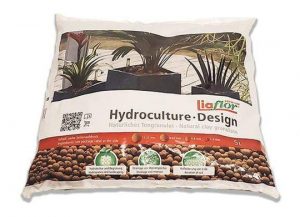
- Clay Pellet Grow Medium
- Seeds (Variety)

If your Nutritower is not yet assembled, ensure you have all the parts indicated in the Nutritower Assembly and Set-up guide. If you are missing any equipment please contact the education consultant for WOTP.
Nutritower Assembly & Set-up Guide
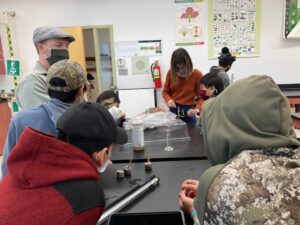
The Assembly of the Nutritower should be completed by the students with the assistance of the teacher, the instructions are also available in step-by-step video format on the Nutritower Youtube Channel, see Additional Resources at the bottom of this page.
Once assembled, test the tower to ensure its functionality. Specifically…
- that all four light bulbs are operational
- that the pump is able to pump water to the top of the tower
- that all the hoses drain back into the reservoir bucket
- ensure there are no leaks
- ensure all electrical cables are on a raised surface, off of the floor.
Class Activity
Division of Labour
Have students think and discuss what work place roles exist in order to complete tasks such as this assembly. Think about the roles of the manager, a foreman, laborers. Assign roles to the students during the set up process and have them fulfil their role using their definitions.
2. Seed Germination
For instructions on setting up your first germination, review the Nutritower document below.
Nutritower Seed Starting Guide.pdf
From a pedagogical point of view, the seed germination is the first instance of biology in this project. The students should have a basic understanding of plant growth from their primary education and the ‘Living Things’ unit. However, this would be a good opportunity to review the basics and expand on their knowledge.
Consider…
- the defining characteristics of a living things
- the differences between plants and animals
- the germination phases
- plant reproductive methods
- plant life cycles
Germination should occur multiple times throughout the school year. After the first wave of harvest you should have some seeds ready to replace your crops. There are enough supplies to repeat this process several times throughout the year.
Class Activities
Actives that cover the science behind germination can vary in style and practice. Think of the goal you want to achieve with your students. Are you collecting data on growth, are you tracking water usage, testing different methods, comparing plant types?
Germination Journal
A journal can take the form of written words, charts, pictures, videos, any format that works for the student. The goal behind the journal is to track the progress of the seeds life at regular intervals along with the routine maintenance, note major events or changes, assess challenges when they occur and come to a final conclusion. You may also want to include aspects of measurement, rates of change, etc.
Mystery Seeds
Have students select a seed from a bowl and predict what it will become. Have students take notes about the details of their seed before germination. Use descriptive vocabulary to note the colour, shape, texture and size. Track progress as the seed germinates and becomes a plant.
Germination Stations
Test the effectiveness of different germinating mediums. The Nutritower comes with organic coco-coir and the germinator (plastic lidded container with light) but have students test the same seeds in a variety fo environments. Try germinating in a paper towel, piece of sponge, sand, dirt from outside; have students note the differences as the seeds progress or fail.
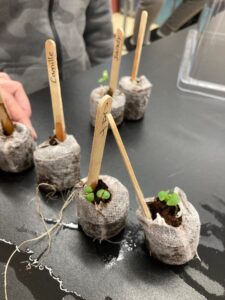
3. Transplant
After two-four weeks in the germination stage your plants should be ready for their trip to the Nutritower proper. The plant can stay in the coco-coir pellet, it should not affect the systems operation, however soil and sand will have a negative impact on the water pump and must be rinsed before entering the nutritower.
You may also follow the Nutritower guide for transplanting.
Nutritower Transplant Guide.pdf
You will need the following items to begin transplanting.
- Hydroculture clay pellets
- Black netting baskets
- Plastic netting (optional and not included)
- Clean running water
You can also find two videos for the transplant on the Nutritower YouTube channel, linked below.
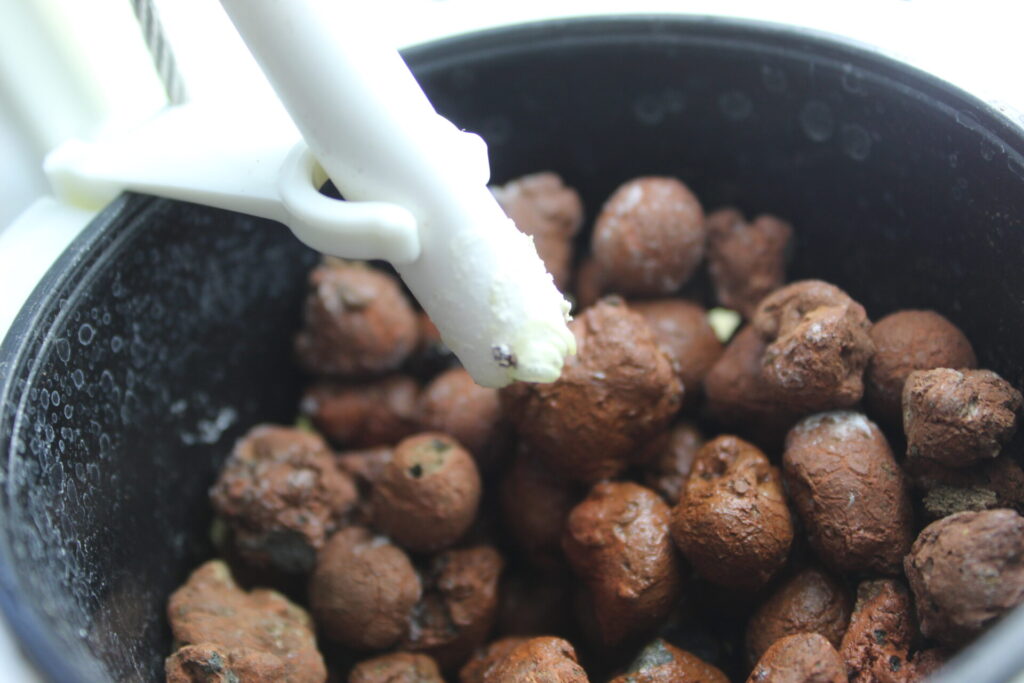
Begin by rinsing the hydroculture, trying not to break any of the clay pellets. You will notice brown dust coming off of the pellets, this will continue throughout the growing phase but it is important to remove as much as possible before putting it into the system.
Place a layer of hydroculture in the basket, about one inch deep. Gently place the coco-coir pellet with plant in the center of the basket and surround the pellet with the hydroculture. The plant should be able to stand on its own but not crushed in any way.
Place the basket into one of the 32 planter buckets and continue the process until complete. Because you are limited to 32 planters, select only the healthiest plants to transplant.
Clip the drain hose into the plastic bucket clip and ensure the hose drains onto the coco-coir pellet. Also ensure the hose does not damage the plant stem.
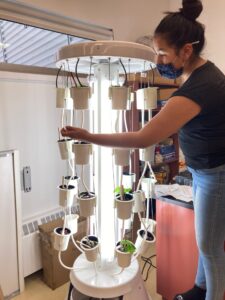
4. Regular Operation
By now you have already tested your Nutritower to ensure it has no leaks or issues with drainage or pumping and all four lights are operational.
Using the two sunbeam timer switches included in the kit, program the lights and the pump separately. Note that the pump should not run constantly, the plants need time to dry out to ensure they are not flooded or waterlogged. To program the timer, simply pull up the grey tabs to indicate the time when the switch will be on. After programming ensure the switch is set to timer and not ON.
Lights
The lights should run at regular intervals between 10 to14 hours a day. The amount of time you should run the lights is dependent on two factors; the type of plant and the stage of growth. Young plants are sensitive to sun scorch, as are leafy greens. If you are growing greens, we recommend you start at a 10 hour cycle and progress as needed. If your plants show signs of sun scorch you need to reduce the number of hours of light.
Water Pump
The water pump will carry water to the top of the tower and gravity will bring it back down to the bucket reservoir below. The water cycle recommended in the user manual suggests running the pump for 15-30 minutes every 2 hours. You do not need to run the pump during the ‘night’ hours as the plant will not be photosynthesizing in the dark. Personally, I do run the water midway through the night for 15 minutes to keep the plant base moist.
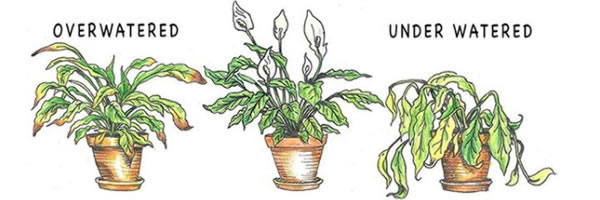
Signs of too much water are…
- visible mold
- root decay
- limp plants
- yellow and brown leaf tips
Signs of not enough water are…
- dry or brittle extremities
- sun scorch
- limp plants
- dry pellet
5. Water and Additives
Water is the carrier of nutrients to the plants. While the plant roots and hydroculture hold on to moisture to prevent dehydration, the actual running water brings the plant it’s vital nutrients.
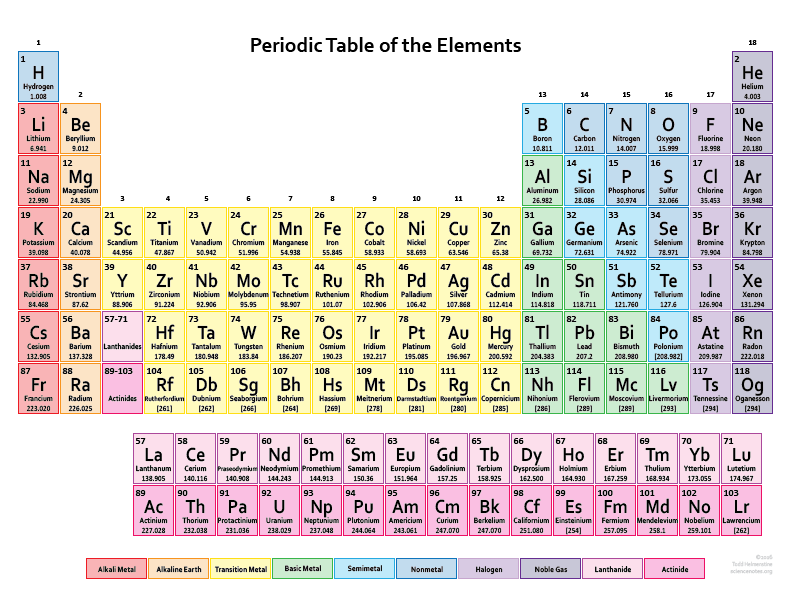
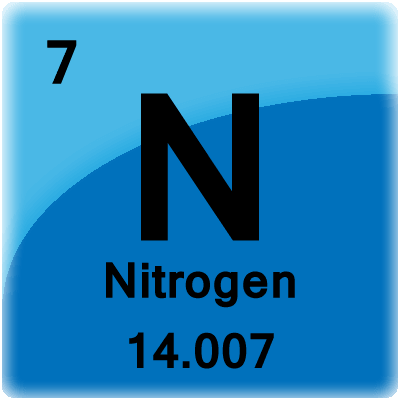
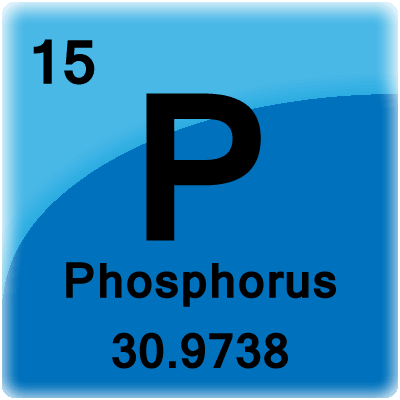
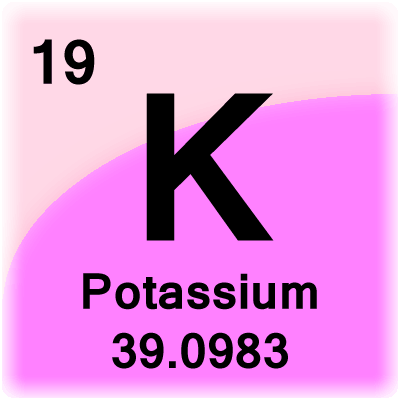
Plants are largely made up of carbon, they absorb carbon from the air in the form of CO2 releasing the O2 that we breath. What the plants cannot get for themselves are three vital nutrients, without these no plant can survive.
The three vital nutrients are Nitrogen (N), Phosphorous (P), and Potassium (K). Every nutrient formula is made up of these three chemicals but in different proportions. The AB formula provided in your kit is designed as a general formula for green plants. The formula is divided between the two bottles to keep it shelf stable, but when combined the formula is 6 parts Nitrogen, 5 parts Phosphorous, 10 parts Potassium or ‘6-5-10’. Depending on the type of plant, such as fruit bearing, they may require or thrive better in a different formula composition.
As a general rule, your Nutritower should only be filled with one kind of formula at a time and only the types of plants that benefit from that formula should live there. We have not tested or tried any additional formulas.
Class Activity
You can use this opportunity to talk about the periodic table and the three elements used in the application.
The instructions on how to mix the formula are written on the AB bottles. Follow the instructions exactly and you will have satisfactory results. Do not add any additional chemicals to the water, such as water softeners, as they may have adverse reactions with the AB formula.
An additional concern to look out for may be the PH of the water. You can find PH tests on the nutritower website or at any garden store. Regardless of the PH, the general rule of thumb is to use fresh water and a diluted AB formula.
6. Regular Maintenance and Cleaning
Regular maintenance should be a part of your routine with the students. It is an excellent opportunity for your students to take a lead role in the care and execution of a project. The dirtiest jobs earn the most grit.
Developing a Routine
Create a schedule with your students needs in mind. Identifying their roles in the project and specify when and for what they will be responsible.
You can track their progress and routine with a visual organizer, calendar, checklist; anything that makes it easy for your students to step in and fulfil their role. The goal behind routine is to develop their sense of independent responsibility.
As your tower blooms with plants, it will also bloom with several other things. The three most prominent issues that arise are sediment, algae and calcified salt.
Sediment
After your first few refills of the water reservoir you will notice some brown sediment in the bucket, this sediment comes from the hydroculture pellets, it is normal to find this but it should be rinsed out as much as possible. Too much sediment will eventually damage the pump.
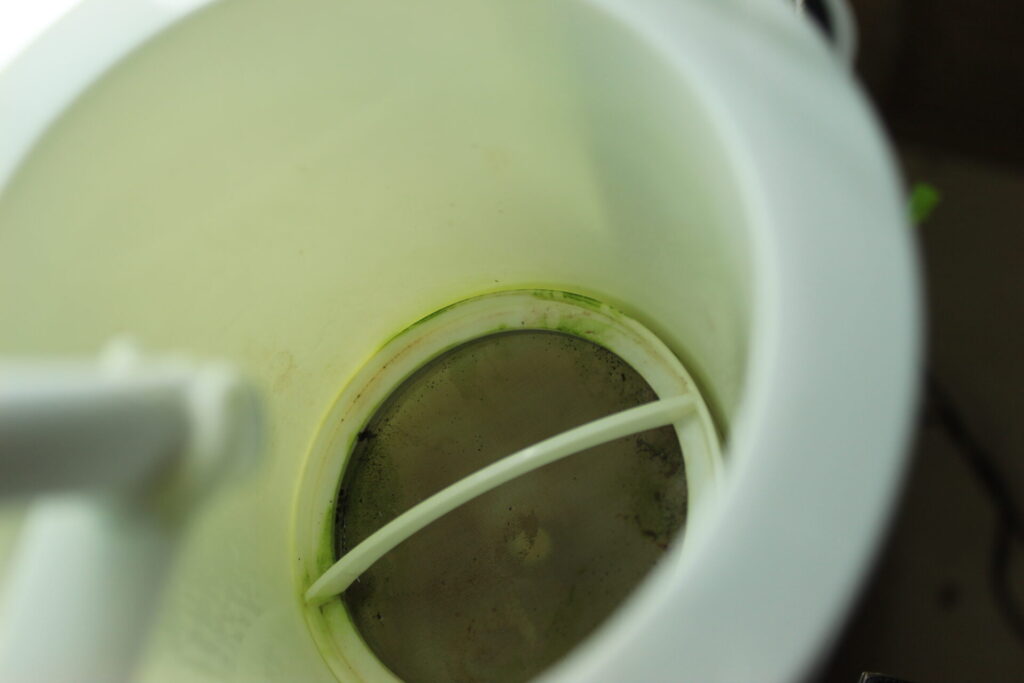
AlgaE
Algae are single cell plants, finding them in your tower is completely natural, and again an excellent opportunity to review the differences between single cell and multi-cell organisms. Unfortunately, they also complete for resources that our agriculture needs. Another issue that algae can cause is blockages in the hoses, too much algae will eventually block up a drain and cause a spill.
Algae can be easily taken care of with a rinse and scrub with sponge, pipe cleaner or tooth brush. Some disassembly will be required. Consider reviewing the Nutritower YouTube channel for visual instructions on cleaning the tower.
Calcified Salt
Over time, you will notice white build up on your hoses and hydroculture. These evaporites are the remains of salts in the formula and water. Because our communities have ‘hard’ water as our main water supply we also have to deal with calcium build ups. Although the deposits are not harmful to the plants they will eventually damage the pump or create blockages in the hoses.
Calcium can be broken down and removed with the use of vinegar or other cleaning products such as CLR or the BioLav products in the janitors supplies. Before using any chemical agent you must read the WHMIS warnings. thoroughly rinse your equipment and wash your hands after use.
Steps
Whether you are tackling algae or salts, you must remove the plants and hydroculture from the tower to tackle the hard to reach areas.
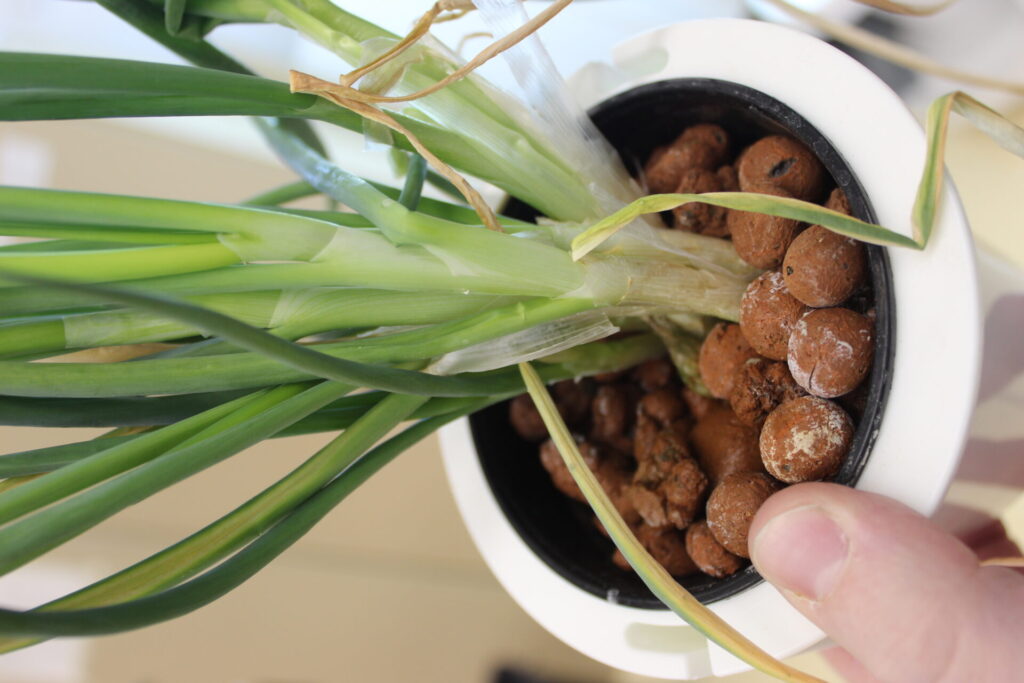
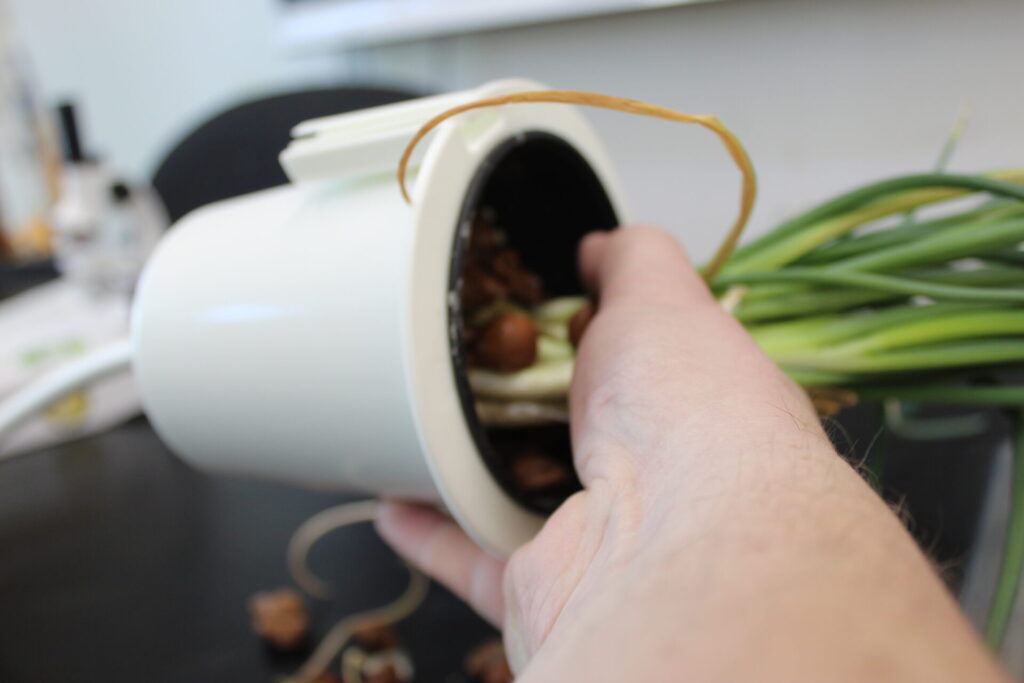
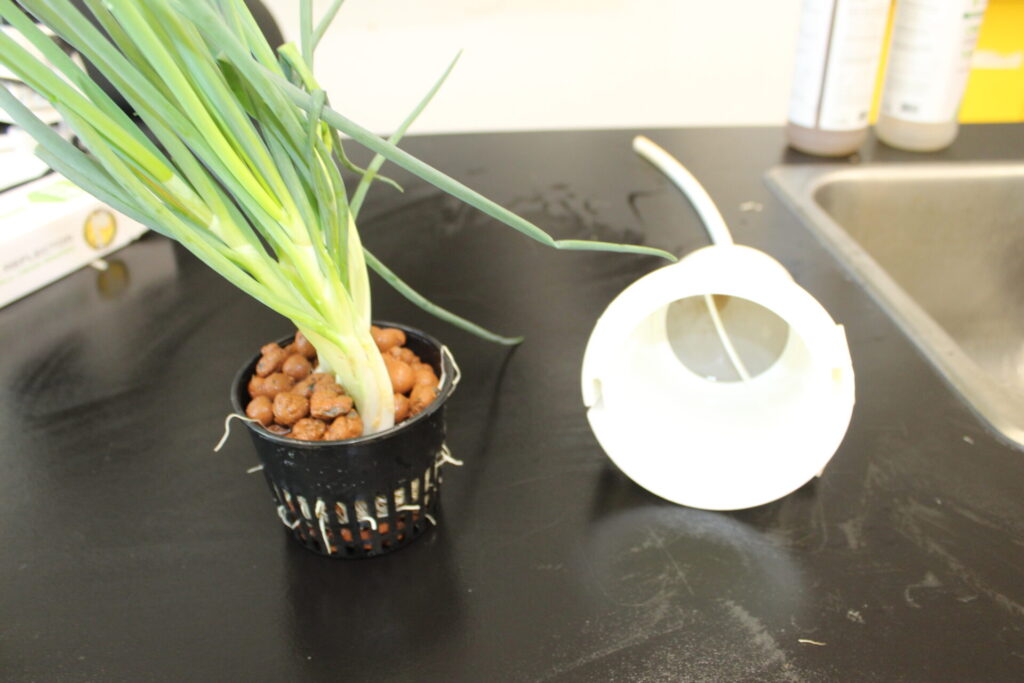
- Remove the netting cup from the pot. Be wary of the roots during removal.
- Gently cup the plant base and turn the netting cup over to allow the hydroculture to fall out. It is best to use a strainer or colander to catch the hydroculture. Set the plant aside in a safe place.
- Remove any dead leaves from the plant and give it a rinse. Also rinse the hydroculture.
- With the plants and hydroculture removed it is now safe to work on the tower. Use a soft scrubber to gently remove any dirt and grit and remember to thoroughly rinse the parts after.
- Reassemble the netting cup to the pot and triple check that all hoses are correctly placed.
- Repeat until each pot has been cleaned. It may serve you and your students best to set up an assembly line.
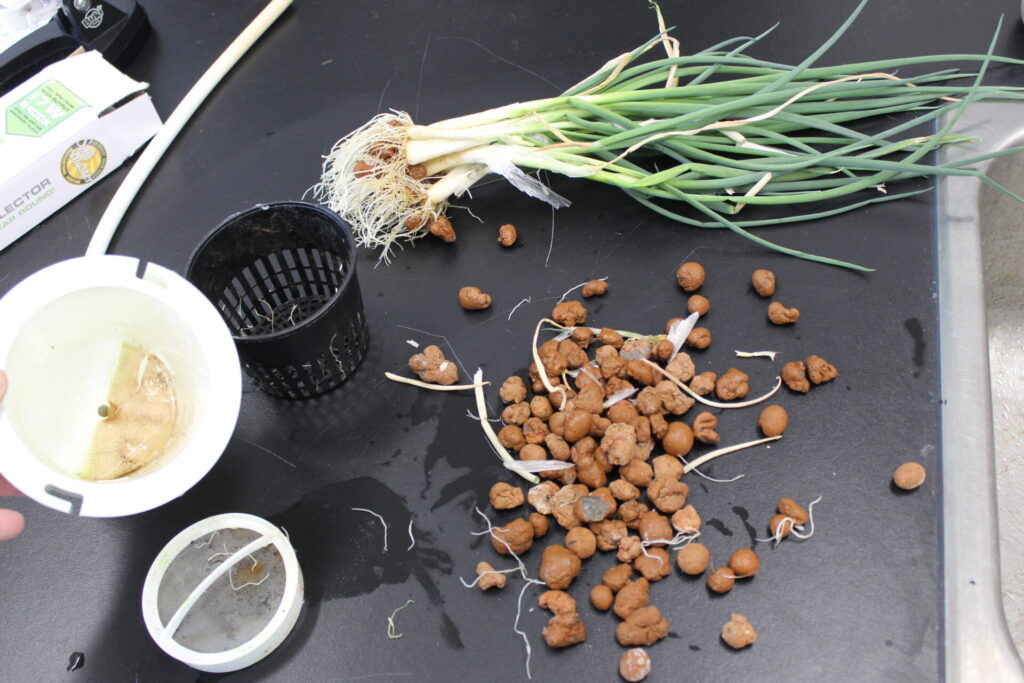
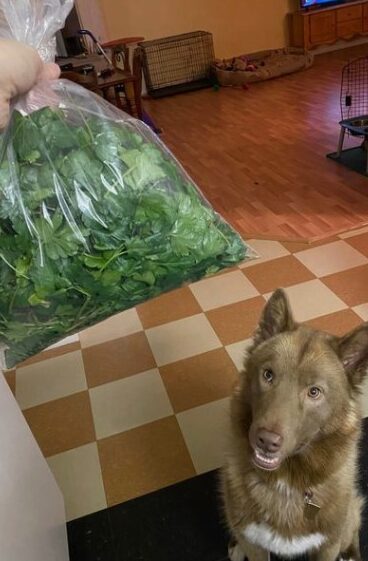
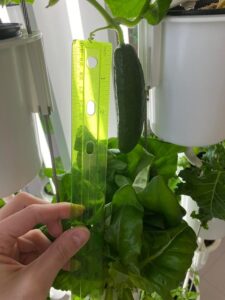
7. Harvest
The last but not final step in the project is the Harvest. Harvest is the most rewarding time, as you get to consume and utilize your hard earned delights. Take this opportunity to maximize your students experience. Through harvest your students can weight and consider the application of this project, the sustainability of indoor gardening, the value of fresh vs frozen foods. Compare your product to those available at the Northern or Coop stores.
After Harvest your Nutritower is still available for the next generation of plants. If June is approaching, you can transfer your plants to an outdoor garden for a summer time community project.
Happy Planting
Project Gallery
Technical Support
Each Nutritower is supported by the WOTP pedagogical consultants and the nutritower team in Montreal. If you have any issues, feel free to contact us or Jesse Shea-Cowper and his team for technical support, advice, or additional supplies.