The material and tools you will need for Stencil printing
- Pencil
- Ink or paint
- Inking plate
- cardboard
- large paint brush
- Thick paper
- exacto knife
The steps in the stencil printing process
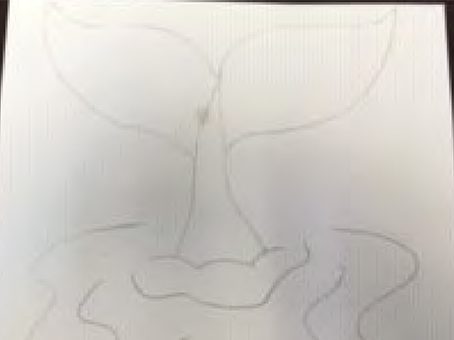
1. Take a piece of cardboard and draw the desired picture using a pencil.
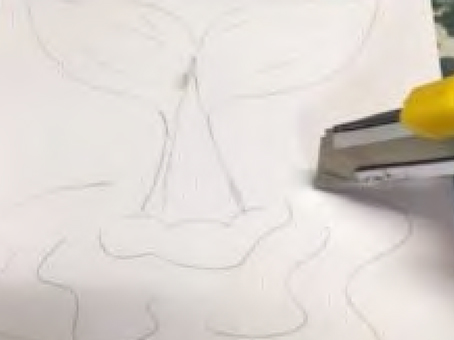
2. Take an exacto knife and cut along the lines of the drawing to allow the paint to pass through. Some lines will have to be cut twice to allow enough paint to seep through. Warning! The teacher may have to complete this step for certain groups.
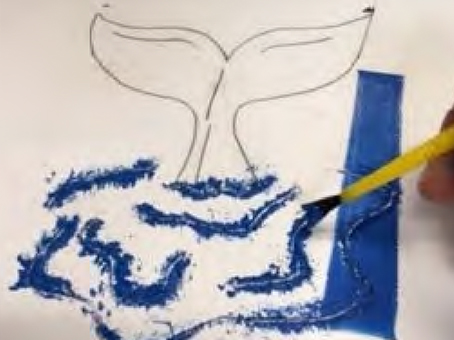
3. Place the stencil on a piece of thick paper. Using a paint brush, apply ink or paint (by tapping) on the stencil lines to reproduce the drawing on the sheet of paper.
4. If your drawing has many parts that are different colours, you can cut and paint one section at a time.
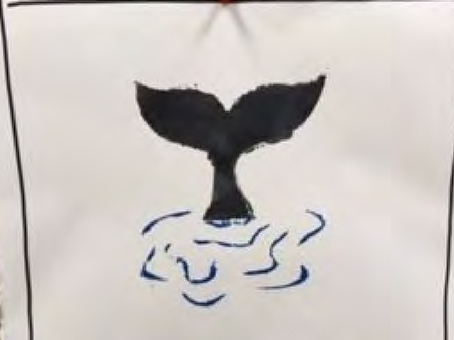
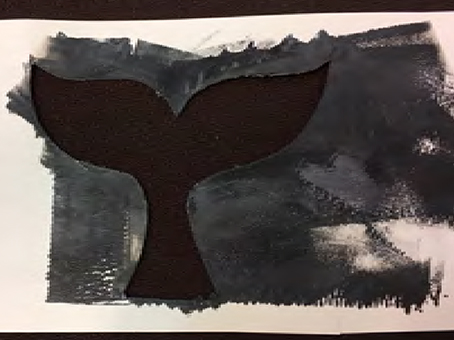
5. When printing is complete, you can make a border around the paper to emphasize the art work. Students can use the stencil a few times to recreate their work, using a different composition or colour selection.
6. Place the student’s artwork on a flat surface or hang from a cord to dry.
7. Take the time to clean the tools well using hot water (no need for soap).