Printmaking is an artform practiced in Nunavik since the 1960s, when the first printmaking workshop opened in Puvirnituq. While professional artists mostly use linoleum, metal or stone to carve their printing template, it is possible to practice at home with recycled materials.
In this activity, we suggest using paint and recycled materials to start your own printmaking workshop at home!
Inspiration
First, take time to look at the work of Nunavik printmakers. Pay attention to the themes, colours, shapes and patterns that you see in their artwork.
Then, find inspiration around you. It can come from what you see in your house or outside your window. You can also use stories and legends to find inspiration. Sketch a few ideas on paper and make your draft. Once you have created a draft of your artwork, you are ready to follow the next steps to create your print!
Materials
- a pencil
- a marker
- paint
- a paintbrush
- paper
- paper plate
- a piece of styrofoam
- scissors
Steps
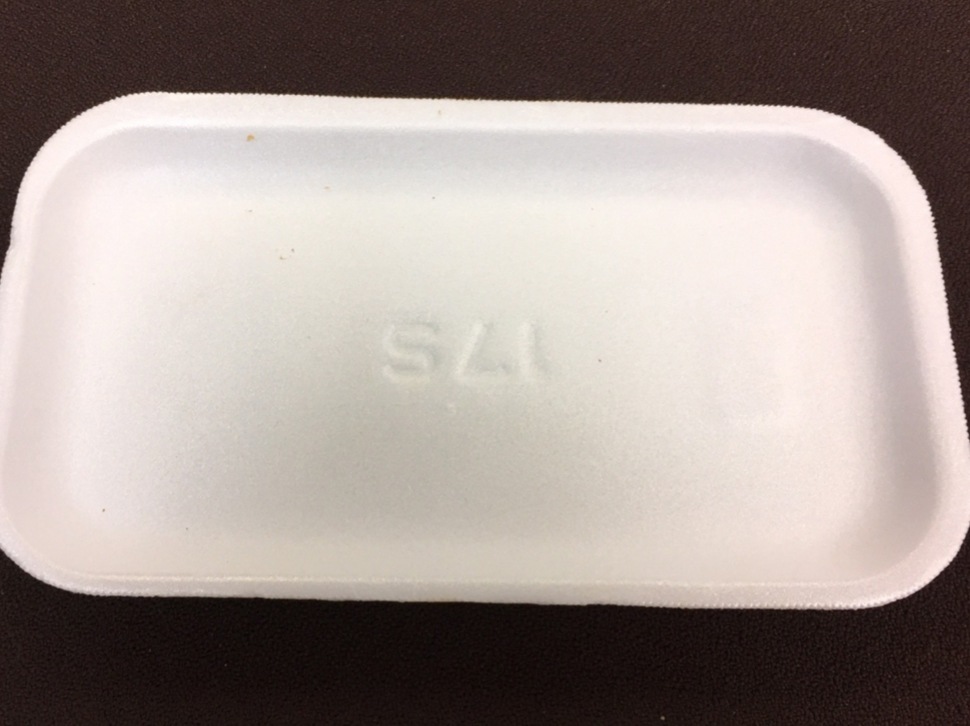
1 Take a piece of Styrofoam. You can reuse Styrofoam from meat packaging. Be sure to clean it well. Cut the piece of Styrofoam to remove the round edges and get a flat surface.

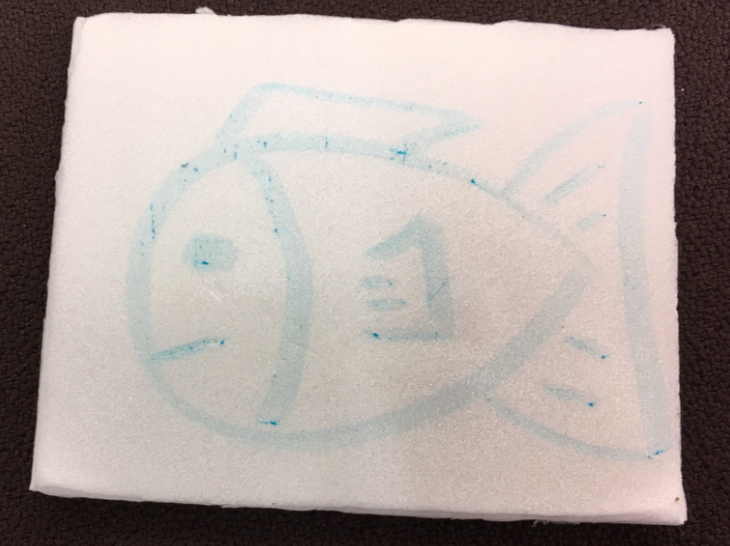
2 Draw the picture you practiced on to the piece of Styrofoam using a marker (do not press too hard). Take the pencil and go over the lines made with the marker. Be sure the lines are deep enough and large enough to see the impression well.

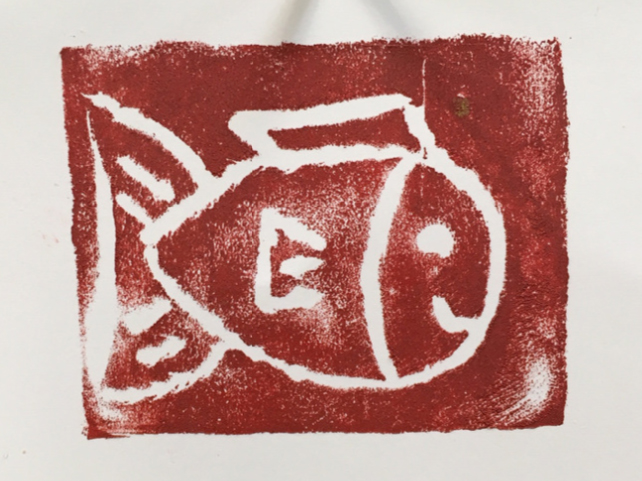
3 Put paint in your paper plate. Using your paint brush, cover the styrofoam plate with a thick layer of paint (be careful not to put paint inside the lines you have “carved” with your pencil). Turn your Styrofoam print unto your piece of paper and press hard so all the paint transfers to the paper.

Now, try your print again, using different paint colours. Maybe adding more details if you want to.
Share your Artwork
Send a picture of your artwork and we will add it to a gallery on this page.
