For younger students, you will have to assemble the tool beforehand for them. They will be able to complete steps 8 to 12 on their own.
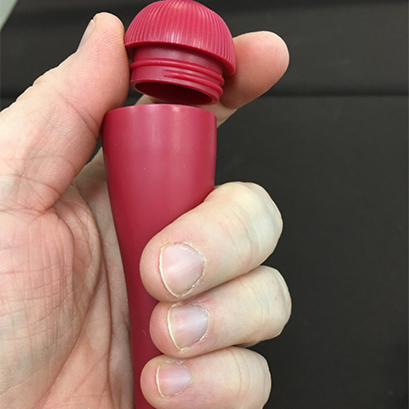
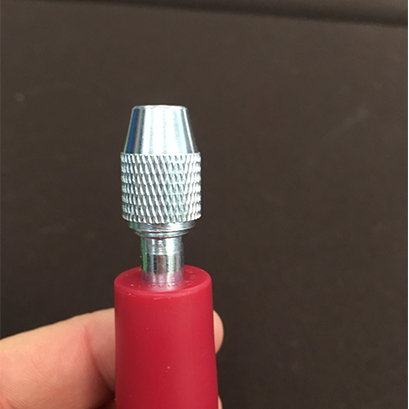
1. Remove the tool cap.
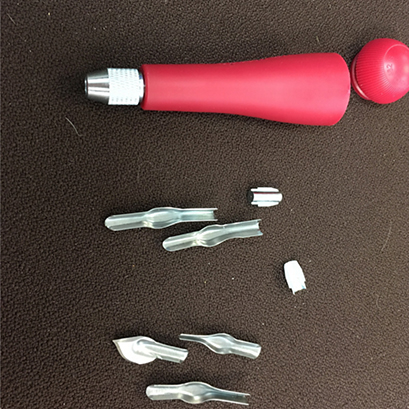
2. Remove the pieces.
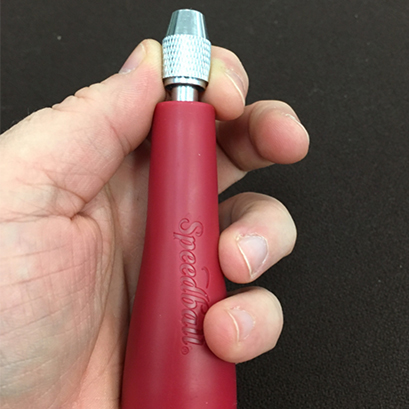
3. Unscrew the tip of the tool and remove it.
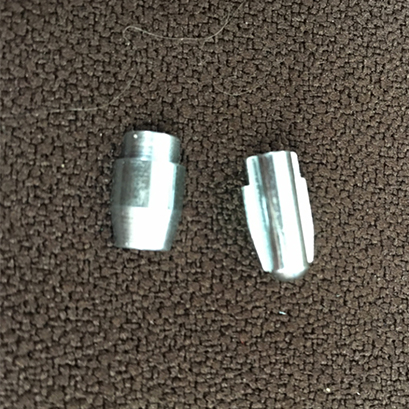
4. Take the two pieces pictured above..
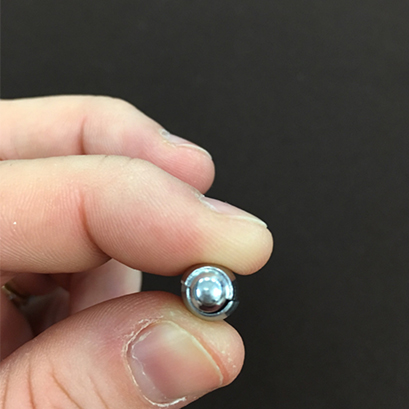
5. Put the pieces together.
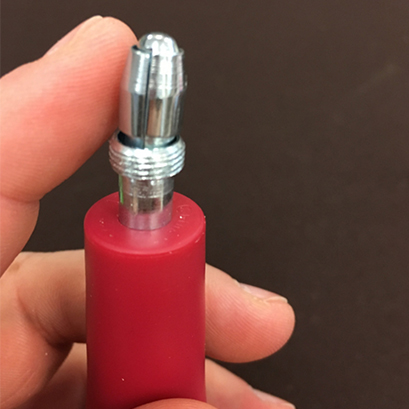
6. Position and hold the two pieces in place on the tip of the tool (round tip on top).
7. Replace the tip and partially screw.
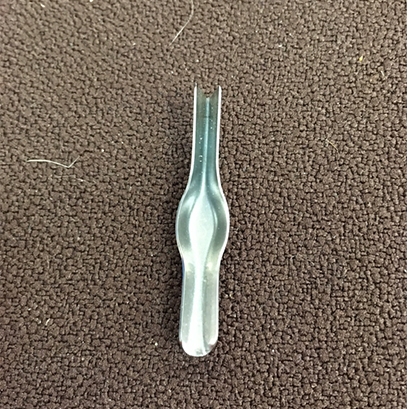
8. Select a blade (there are 5 to choose from).
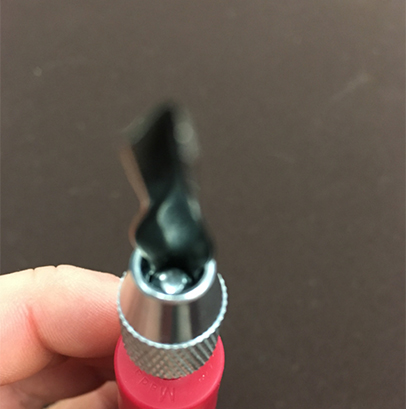
9. Insert the blade into the ball slot.
10. Tighten the tip so the head doesn’t move.
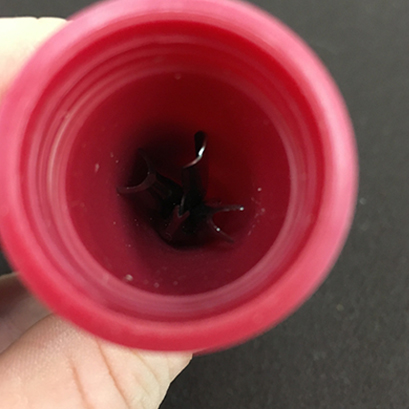
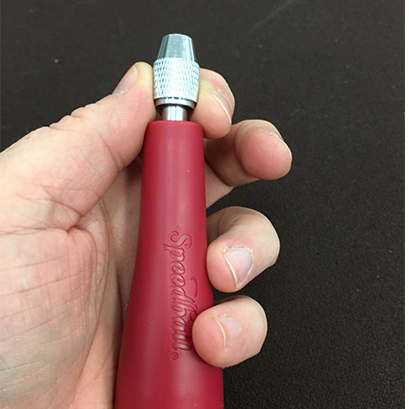
11. Store the remaining pieces in the tool.
12. Tighten the cap.
Repeat steps 8 to 12 to change the blade.
Never leave a blade attached when storing the tool.